Updated: Feb 21, 2019


Share!
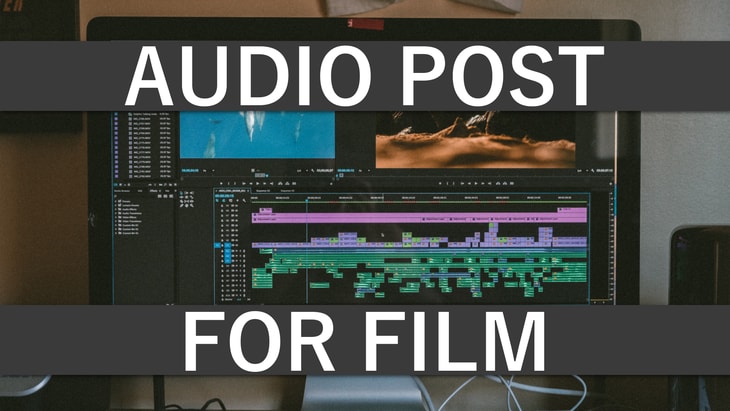
Post Production Tips for Film Audio
These post production tips for film audio will help you perfect the sound you recorded during the production process of filming or capturing video.
Although you may have recorded audio separately from video in the case of Foley, ambiance, or extra audio, all of these tips should apply.
Let's get into the first stage of editing audio for film and video.
Organize the Audio Files
If you have a bunch of files you have recorded, it might help to put some kind of order or structure to them, including naming conventions.
But, if you don’t have that many different files, naming them is probably all you need to do.
Ideally, you’ll want to talk to the DOP (Director of Photography) about how they are organizing and naming their files.
This will help both of you generally stick to the same format and will make it much easier for whoever is editing the media.
Basically, use descriptive file names that highlight the scene, take, or something unique about either of them.
How to Mix Audio for Film and Video
Mixing audio for film and video isn’t that different from game audio or even music on its own.
But, there should be some type of order or hierarchy to the elements in your film audio so the audience’s attention is focused on the most important things.
How Loud Your Mix Should Be
The entire mix (the master track) should meet the industry standards for loudness.
As with any audio production, keeping your master track around -15 to -12 dB will leave plenty of room for mastering.
Once mastered, the standard for film is typically seen around -3 dB but can be different for different distribution platforms.
For example, Netflix requires your mix to have nothing peak past -2 dB and they recommend having it at -2.3 dB to prevent false positives.
Now that you know that, there are some audio effects that can be used to help make your film sound better.
Audio Compression
Although you probably want the audio of your film to have a good dynamic range, compression can help tame the extremes.
Using audio compression will bring the loudest elements down, thus increasing the level of the quietest in contrast.
All of this can make your film audio sound full and controlled when used properly but can ruin the dynamics if used too much.
When adding compression to audio, there is no “one-size-fits-all” approach but here are some tips:
- Stick to a ratio below 6:1 - Limiting starts to happen at 10:1 and creates a hard cut-off when the signal passes the threshold.
- Don’t use compression on tracks with unwanted background noise, it will only become louder and more noticeable.
If this is a bit too much, you can learn what all of the parameters do on a typical compressor plugin here.
Audio EQ (Equalization)
Adding an EQ to different tracks can really help highlight the most important frequencies while removing or reducing unwanted ones.
What EQ does is it gives you control over the decibel level (or volume) of specific parts of the frequency spectrum between 20 and 20 000 Hertz.
It’s between those values because that is the average person’s audible range. Anything below 20 isn’t typically heard and is felt.
Here are some EQ tips you might want to put to use:
- For Dialogue, use a high-pass at around 100Hz and a low-pass at 10kHz to remove the low and high frequencies respectively.
- You can make dialogue clearer by making subtle reductions in the background music or ambiance where the dialogue is present.
- Cutting (or reducing) is often better than Boosting (or raising) frequencies. Subtlety is also a great way to go about EQ.
- Make EQ changes with everything playing. It may not sound good on its own but great when played with other elements and vice versa.
Again, if you don’t fully understand equalization and want to learn more, check out this article on How To Use An EQ Effect.
Additional Audio Effects
If the audio for your film or video isn’t sounding fully realistic, you may need to use reverb to emulate or enhance the environment.
This is most important for things not recorded from the same set, such as Foley or ADR (Automated Dialogue Replacement).
To help get a better understanding of how full your mix is, you can use visualizer plugins to see the stereo width and frequencies present.
Seeing the frequencies that are being occupied is as easy as using a parametric EQ and to see the width, you can use a free plugin called Ozone Imager.
Understanding What the Audio Really Sounds Like
To understand what the audio really sounds like in your film or video, it’s good to have professional or at least high-quality playback devices.
This can be studio monitors (speakers) or headphones that have a good frequency response and are relatively flat or neutral.
Being flat or neutral just means the output (what you hear) is a balanced level across the low, mid, and high frequencies.
Basically, without the bass being boosted or something.
It doesn’t just stop there though. Make sure to reference your mix or edited audio on devices consumers may use when watching the film or video.
This can be a smartphone, tablet, laptop, or a home theater with surround sound.
The point is, make sure the audio sounds good on both bad and good speakers.
I hope these post production tips will help you edit and mix your film audio, bringing you to a better sounding production.
If you’re still unsure about how to handle the audio during production, you might enjoy these Tips On Recording Audio For Film.
Thanks for reading!

Share!
Join the newsletter for free stuff and some knowledge too!
Everything you need. No Spam. A heads up before others do.


