Updated: Apr 15, 2020


Share!
How To Organize Plugins & Samples in FL Studio 20
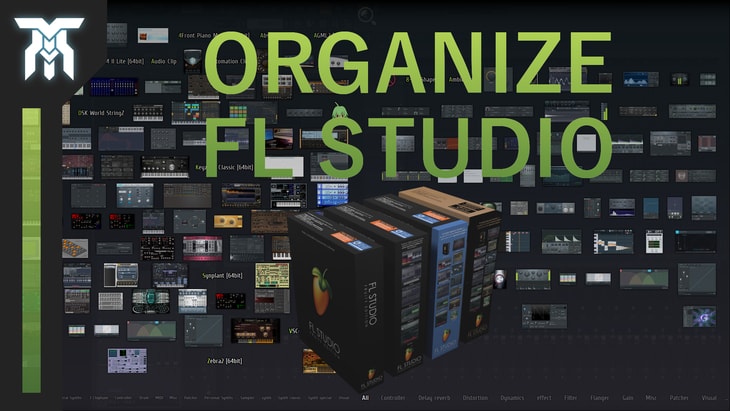
Learn how to organize plugins in fl studio 20 as well as sample packs, audio files, and will show you examples of how to organize FL Studio folders.
This FL 20 tutorial for beginners will help you categorize plugins and sample folders to keep your DAW looking clean.
This will all help your workflow as it will cut out a lot of time that you may have been using to search for the plugin you want to use.
If you’re still stuck on trying to install plugins in FL Studio, check out this article about how to do it easily.
Let's face it, you'd probably just rather make music or sound effects than organize your folders, right?
This will actually give you more time to just focus on the creative side, instead of trying to find the tools you need to create.
The first thing I'll show you is how to organize your plugins so they are in the right folders and so they also come with an image of what it is so you can find them faster.
How To Categorize AU & VST Plugins in FL Studio
To categorize your plugins so you can find the right one for the genre you're creating, go to the file browser to the left and to Plugin database.
Under that go to either generators or effects and right-click.
Press open and then make the folder you want to put a specific type of plugin into.
Once you have the folder set up follow these simple steps;
- Have the folder selected in the browser (have it open)
- Load up a plugin that would go into this category and go to its menu on the top left.
- Go down to the option "Add to plugin database (flag as favorite)” and press Ok.
There will be a popup that will allow you to verify what folder it is going to be categorized in before you save.
For example, you can do this for all of your free plugins for chiptune, orchestral, and EDM synths, each having their own folder.
You can even do this for effect plugins, letting you organize the effect menu as well.
How To Organize Samples/sounds in FL Studio’s Pack Folder
Now, for the sample folders. There are a few ways you can go about doing this and really it comes down to preference.
One way you can do it is unpack sample packs you download and organize them into your own custom folders for different genres.
This could be high level like percussion and just make a sub-folder in it for each brand or all the way down to dumping all snare samples into one folder.
Or do it the lazy way (but not absolutely terrible) and simply keep everything in their original sound libraries.
But there is something we can do to make a bit more organized, even when going for the lazy way.
Quick & Easy way to Organize Samples in FL Studio
All you need to do is make folders that are extremely high-level.
If you want to make your own folders like this, simply right click on Packs and click open. There you can create folders to categorize your sounds.
A good example of high-level categorization is this;
- Take all of the sounds that come with FL Studio and put them into a folder.
- For external libraries, make main folders to hold all of the sample packs made by that brand and put them into something like “External Libraries”.
- For sounds you make yourself, put them into something called “Self-made”, “Personal Samples”, or your brand name.
- Then, add a number at the beginning to keep them in the order you want them to be in, regardless of what letter they start with.
In the end, you would end up with something like this;
1 Stock Libraries
2 External Libraries
3 Transverse Audio
4 Personal Sounds
5 Remix Comps
How To Categorize Sub-Folders
If you’re still wondering how you can manage your sub-folders inside these main ones, there are a ton of approaches you can take.
For example, if you’re into recording Foley, there is a great resource that has a pre-made sound library structure for you to use!
But, if you’re into making music like EDM, Orchestral Music, or Chiptune, there are more practical ways than that.
For example, my folder for Splice Samples is categorized to be effective yet isn’t over-specific.
As you can see, the Drum folder only goes down 2 levels at most. Drums > Hands > Snaps.
That’s only 5 clicks to get to all the snap samples that I got from Splice from the Packs folder.
A good rule of thumb is to consider these 3 important attributes of a good sample folder structure;
- Only go into as much detail as you need to be productive.
- Don’t create an endless pit of folders, try and find a compromise that is effective.
- If you only have a few samples/files in a folder, chances are you don’t need it.
It may not seem like much but it all adds up, especially if you spend a lot of time in the DAW making music and looking for plugins and samples.
Hopefully this helps you and makes your workflow a lot easier. As always, thanks for watching.
Featured Post

More DAWs & Middleware Tutorials

Share!
Join the newsletter for free stuff and some knowledge too!
Everything you need. No Spam. A heads up before others do.


